Tuesday, July 29, 2014

Sewing #610... Sewing the bust darts.


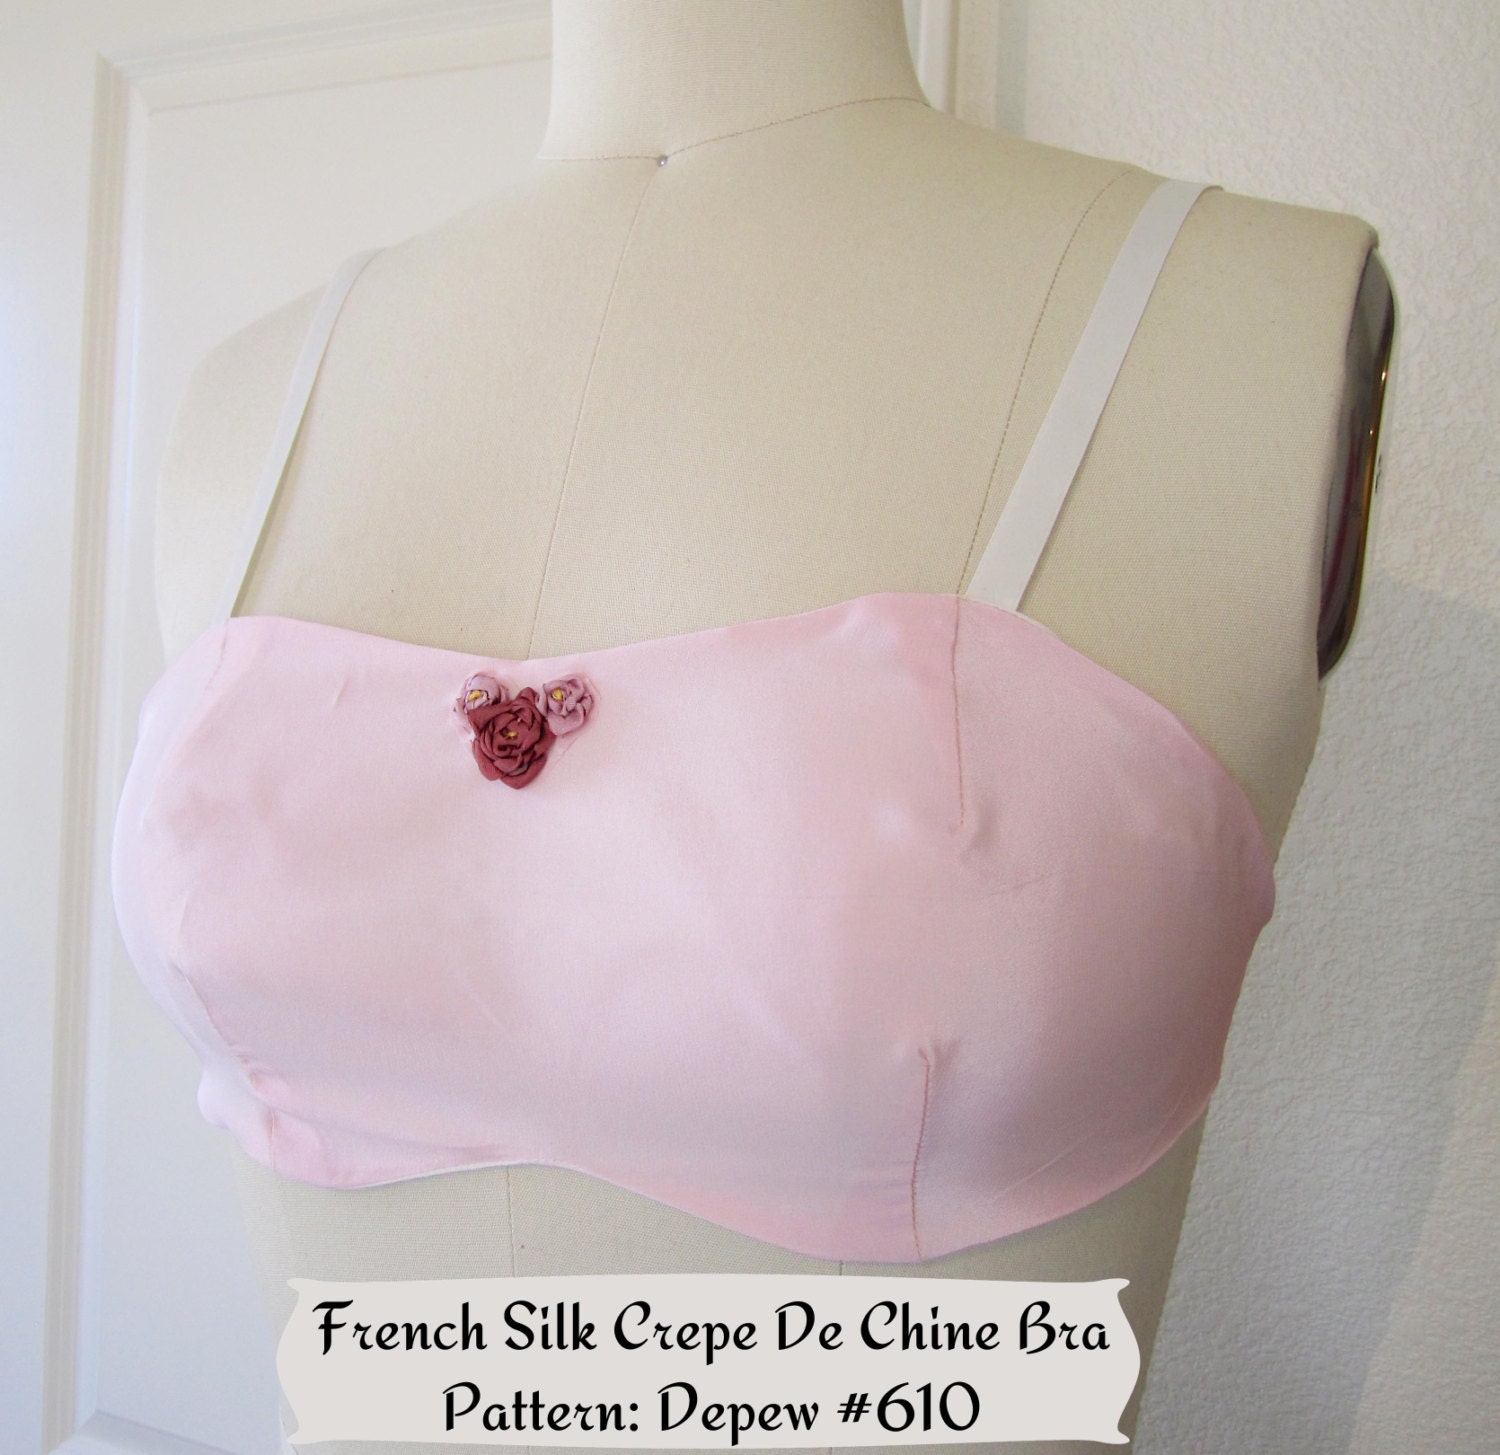
Aaaaand we're back with more bra sewing! At this point, we've drafted our pattern and cut out our test muslin for the bra. Don't you just love how the whole bra is just one piece of fabric? It definitely makes life easier!

I have cut out and sewn the darts in my silk version - the fabric I'm using? It's from an old set of silk charmeuse pajama pants that didn't survive my tossing and turning for long. The fabric has a bit of wear to it, but it's still pretty and feels heavenly on the skin. Waste not, want not - n'est pas?

For both your test muslin and the actual bra, you'll be sewing quite a few darts. Between my muslin, my adjusted muslin, and the bra in silk, that's 12 darts - 16 if you're lining the darn thing. So it helps to know a few things about sewing bust darts, and darts in general.


It's smart to start at the bottom and sew your way towards the tip, but here are a few more tips:
  • For bust darts, adding a very slight curve at the tip of the dart will help the garment contour better to the roundness of your bust. See more about that here.

  • At the tip of the dart, don't back-stitch, instead, pull the garment out from your sewing machine and leave a trail of threads long enough to tie a loose knot. Make sure that there are a few millimeters of ease between the knot and the dart.
My pin stealthily rusted onto my fabric, the horror!
  •  Press your darts flat before pressing them open. This will help set the stitches in the fabric.

  • And by far, my favorite tip for pressing my bust darts is to use an old bra! Fold the bra (the ones that are thickly padded are best) in half so that it supports itself and then cover it with a towel or press cloth.


The lovely little mound that it creates is vastly superior to my own pressing ham and perfect for pressing bra darts.

An old bra makes the perfect shape for pressing bra darts on.
So I've sewn my bust darts in the bra and now I'm going to take a short week-long break from sewing.

Pardon the wrinkles, I pressed the darts ok but the rest of the bra will just wrinkle again during handling, lining or binding so I don't even bother with the rest of it.
This coming weekend, I'm flying back to Nebraska to help my family manage the auction we're having to liquidate the family antique business. It was run primarily by my mother and with her now gone, none of us has the heart to continue with it. It's a very sad, but necessary part of adulthood, I suppose, letting go of the things you loved as a child. In this case, my sister and I grew up in our Mom's antique shop (home schooled and everything) and it will be awfully hard to say goodby to that chapter of our lives.
My wounds are still very raw from losing Mom only four months ago so this coming week will not be an easy thing to survive sober (though I'll be trying).

Wish me luck!


Saturday, July 26, 2014

Sewing #610... Drafting your pattern.


Hello lovely readers,  I'm so glad to hear that a few of you will be following along with me for our mini sew-along!

The pattern we're using is what I call a draft-at-home pattern. It means that you have a very small pattern with a series of numbers on it, and it is enlarged to your measurements using the measuring bands/ special rulers that come with it.

My pattern and measuring band, ready to be drafted to my size.

To draft your pattern, you can use the instructions included along with your pattern, or you can see how it's done in this photo tutorial. Please don't be intimidated by this, it will only take you a few minutes to draw out your pattern!

You can also check out my draft-at-home pattern F.A.Q. page if you need any quick answers while working with  your pattern.

Below I have my drafted pattern using the 92 cm band. This is my full over-bust measurement in centimeters.

Here is my pattern before I have connected the dots.
I am using a French curve to draw out my more rounded lines.

Once your pattern has been drafted, you'll want to do a few things to ensure that you have a good fit and an easier time sewing.

First, you want to make sure that your dart legs are the same length.

Measuring my dart legs.
If your dart legs are different lengths, measure down from the tip of the dart along the dart leg and mark the difference. If you have a difference, you'll want to divide that difference out between the two dart legs equally. (Example: if dart leg A measures 3" and dart leg B measures 3 1/4", then your difference is 1/4" and you will add 1/8" to dart leg A and shorten dart leg B by 1/8".

Adding the difference to one of my dart legs.
This is called truing your darts.

Re-drawing the curved line from my added dart let length to smooth it out.
It is also be a good idea to measure your dart intake (the distance between your dart legs) in case you need to make more adjustments later.
Once you've checked out your darts, you're almost ready to cut out your pattern. This pattern has a seam allowance included but you need to make sure that your darts have an allowance too. (You know how your darts are often slightly peaked at the pattern's edge? We need to make sure ours do that too.) This is easy, don't worry.

My bra pattern drafted out and my dart legs trued.
Starting with one of your darts, fold the pattern in half horizontally so that the tip of the dart is right on the fold line.
Folding your paper again along the dart leg closest to the center back, fold the dart leg over towards the other dart leg.
A horizontal fold with the dart tip at the fold.

Once your dart has been folded, it will resemble how it is to be sewn.
Pin both of your darts closed and then cut out the pattern. If your dart legs are trued properly, they should match perfectly when folded together. If not, you can just re-true them before cutting out, while the dart is still folded.

My pattern cut out, while the darts are still closed.

Now your darts automatically have those nice little peaks that will allow your dart to rest properly on your bust. Without doing this, it can make your darts pull and can cause some annoying fit issues.

At this point, it's a good idea to determine what manner of back closure you're using - if you want to simply add hooks and eyes instead of a French or purchased closure, you need to measure and make sure that the bra back reaches far enough for your needs before cutting it out. Or, you can always just tape an extension onto the back of the pattern piece if you need more room. 

It's also a good idea to put a tiny notch in the upper back end of the pattern. This can come in handy during test fitting, to help you tell top from bottom!

Cut one, center front on the fold.

Now your pattern is ready to be cut out of your muslin or practice fabric to be tested on yourself!

Any questions?

Happy sewing,


Sunday, July 20, 2014

Sewing #610... Intro to a mini sew-along!


Happy weekend, my lovely readers! Recently, you might remember, I sewed a 1930's bra for myself using one of the draft-at-home patterns from my shop, Depew #610.
Many readers wrote that they were curious about my process and wanted to see more so I decided to turn the project into a mini sew-along.


While sewing this bra, I took a lot of photos, but since this was more of a "getting back into sewing therapy" project for me, I didn't take nearly enough photos of nearly enough steps so I thought, why not do it all again for a mini sew-along?

I loved this bra so much that I have no reservations at all about sewing about a dozen more of them so I'll be starting from the beginning and posting as I sew.

You're welcome to join in with me and post questions as I go. The more, the merrier!
If you'd like to follow along, here is what you'll need:

1. The pattern comes in two different versions Digital (if you want to print at home) or Print (if you'd rather get goodies in the mail).

The 1930's bra pattern I'll be using.

2. Fabric: You'll need about 1/2 yard of 36" or wider fabric, plus the same for an optional lining (I used light weight silk so I lined mine). You'll also want about 1/2 yard of muslin for a test version.
This is a great pattern to use up fabric scraps, or the great vintage silk scarves you scored at the thrift shop and then never wore.

Tip: I got my lovely silk fabric, and the silk ribbon I used for the straps online at Farmhouse Fabrics for a really great price!

3. Notions: I recommend a purchased bra back for this project but you can also use hooks and eyes or buttons. For mine, I used a French bra back closure - It's the only bra back closure I think I'll ever use on my bras, it's just so comfortable! You'll also want about 1 yard of ribbon, bra strap elastic, or purchased bra straps.

4. Drafting tools. You most likely have these on hand already bust just in case, you'll need the following:
Pencil with eraser
Large paper (I use tracing paper but you can also use a paper bag or pattern making paper).
Paper scissors
Ruler
Tape
1 thumb tack
French curve (optional).

In the next post, I'll be going over how to draft out the pattern to your size and how to make adjustments to the pattern to make sure that it's accurate and easy to sew.

If you're curious how the draft-at-home patterns work, you can check out this blog post. It really takes something a bit intimidating and makes it quite easy!

I hope you'll join me!

Happy sewing,


Update: Here is a list of the posts!

Thursday, July 10, 2014

Sew Expensive... McCall 8070 1930's Evening Gown


Hello Lovely readers! I am back from a very long, very relaxing visit with my husband's family in Virginia. There among what I can only call the family every girl dreams of being apart of, I was able to do a bit more healing. Things really did seam to get better... and then I came home and lo and behold, all of my pain was still here waiting for me when I got back. But I had just a little bit more strength, and a little bit more perspective to help me deal with it.
This sucks... but then, it's supposed to, isn't it?

On a lighter note, I found the loveliest pattern on Ebay and was instantly struck with the thought, "Mama would have swooned over this." I'm having more of these moments now, where I can think of her without picturing her painful passing, and those moments are like a life raft.

The pattern I was watching was McCall 8070 and imagine my delight when it sold for a high enough sum to be featured on Sew Expensive!

This original McCall 8070 just sold for an appropriately stunning $280.68! Swoon, indeed! (164£ or 206€, my darlings).


Don't you just love the combination of the dolman sleeve and low draped back? And check out those inverted pleats at the center front and back hem - what in interesting little detail to add!
It's amazing how something that shows so little skin could be so incredibly sexy.

How about you, my dear readers? Would you wear something like this for dinner and dancing?