

We've reached that point in the sew-along where we have to roll up our sleeves and sew a muslin. I know, it seems like a waste of time, and I know a lot of you don't have a ton of time to sew as it is. But trust me, you don't want to waste your valuable sewing time making something only to find out it doesn't fit properly. So take an hour (yeah, it will go quickly) and get your muslin started.
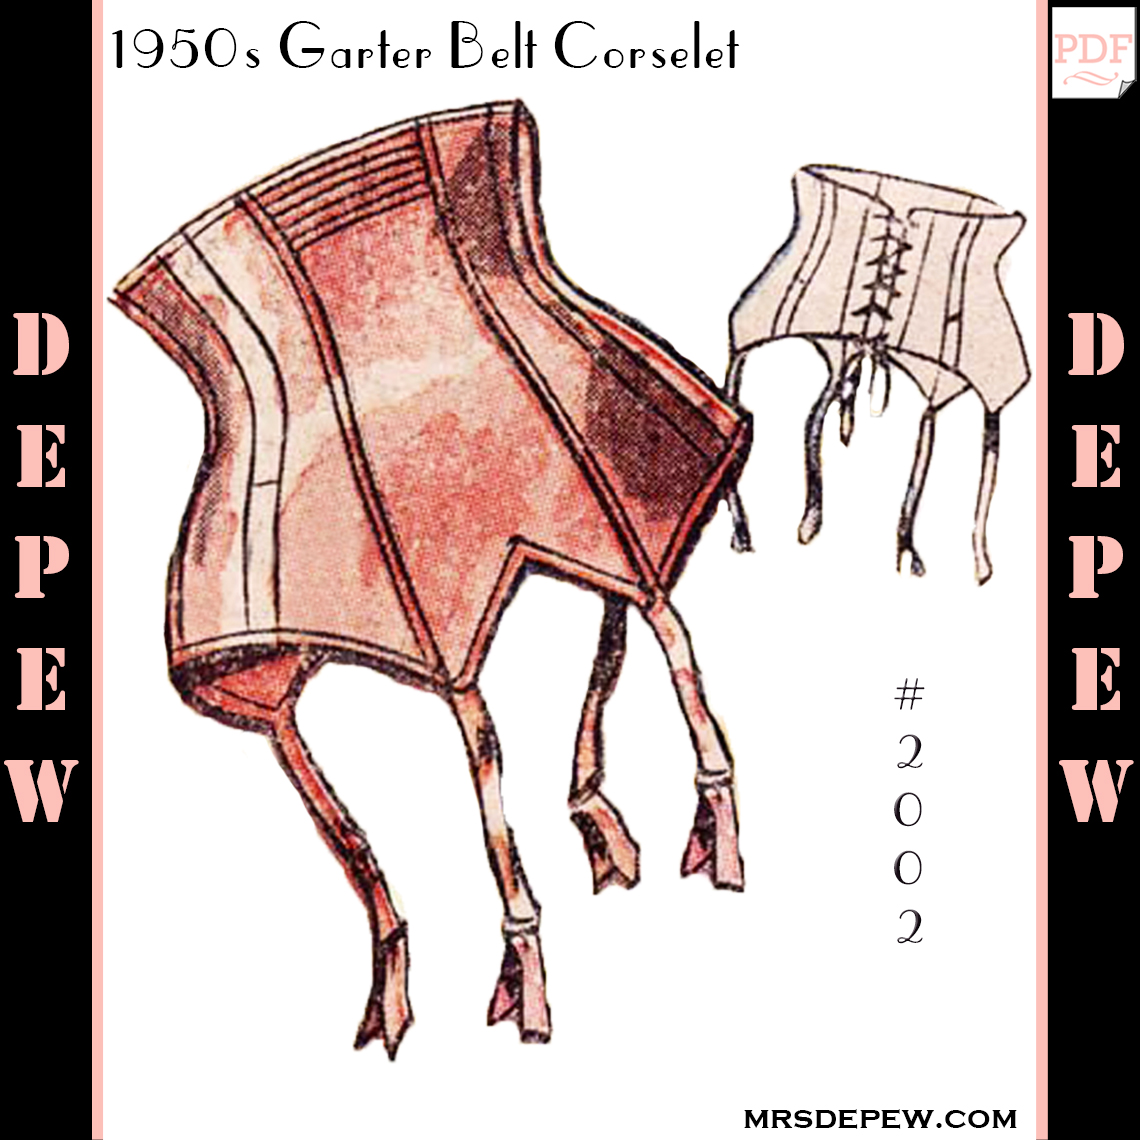 |
| The pattern we're using... |
When I cut out my muslin I like to do it on my cutting mat, with my nifty seam allowance guide stuck to my rotary cutter, and I can blast through it in minutes.
 |
| Yes, Yes I do use spools of thread as pattern weights. |
My big stroke of brilliance with my last muslin was to write my seam number on my seam allowances. What? I know! Happy thought, right? Who hasn't wanted to just take a marker and scribble markings on their fabric so they won't smudge or disappear. Muslin graffiti.


What I'm listening to while I sew:
Sarah from Ohh Lu Lu has put together an excellent post on what you need to do to get your muslin ready. You can read all about it here.
Or Below:
I have to admit... I can be a lazy sewist, when I am sewing for myself, but lingerie muslins take no time to sew, because they are so small! No need to worry about interfacings or linings for your mock-up -You just need something to test your fit!

For my muslin, I did not worry about sewing flat felled seams, like I will be sewing in my finished garment. I stitched regular seams, 5/8" in from the raw edge and pressed flat. The pieces fit together perfectly - great work on Anna's part!


Instead of using eyelets on your mock-up, make a mark every 1 1/2" down where your lacing will go and make a small button hole - this will allow you to lace up your corset to test the fit, without any waste of precious eyelets!


You now have a corset that laces up the back! Try it on and see how it fits.
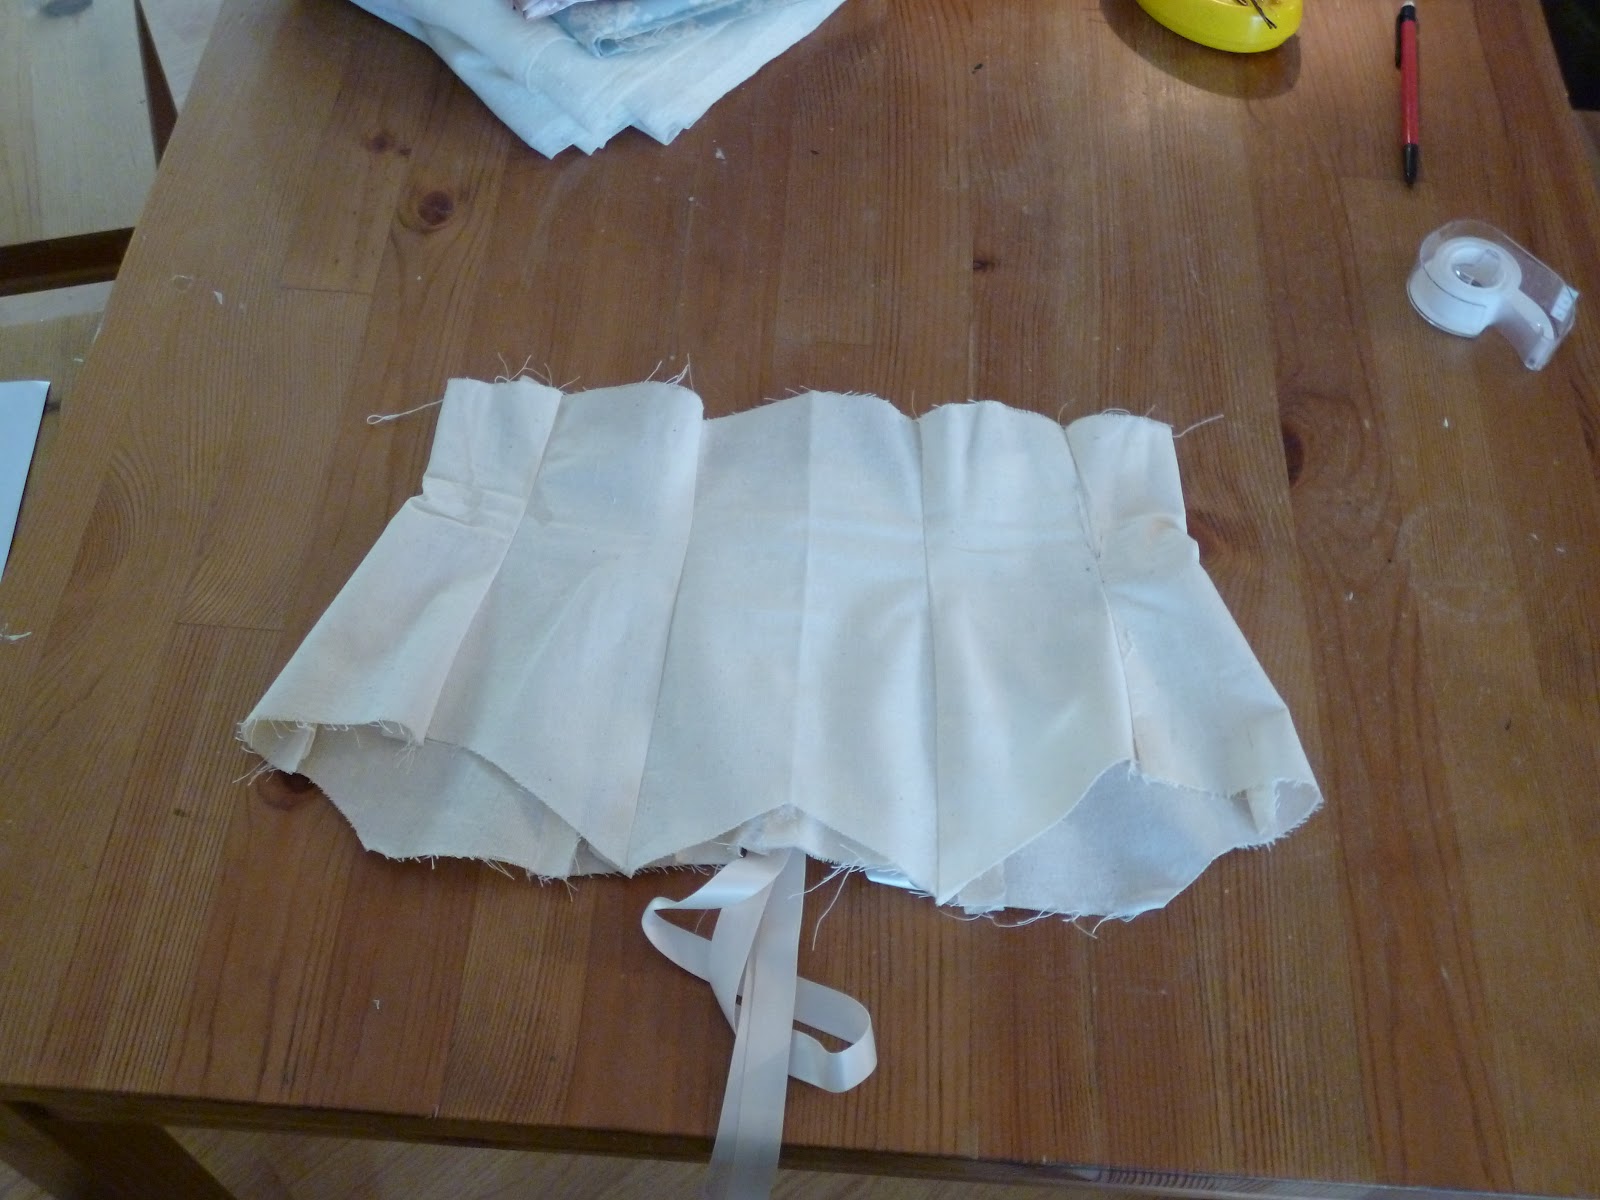

Mine looked good from the front, but didn't quite do up all the way in the back. I added 1/8" of an inch to the side front and side back seam, which corrected the fit.

Oooo... Curvy! Va va va voom!

For those of you making a hook and eye corset, if you have extra hook and eye tape, you can add some to your muslin to test your fit.
Remember to transfer any changes you made to your muslin, over to your pattern.
So, how did your muslins fit? Did you need to make a lot of adjustment?
I got really lucky and my muslin fit perfectly the first time. That never happens to me! :P
ReplyDeleteSo behind!!!
ReplyDeletehave you done a knickers sew along? only it would be lovely to have a whole matching set.
ReplyDeleteoh help help help! I thought I would spend the evenig catching up, but I am having major printing problems. Everything is set to 100% printer and doc, then I tried the doc left at 97 and printer at 100%. Basically it has all shifted and I miss the right hand side. Do you know what I'm doing wrong?
ReplyDeleteCharlotte, it sounds like you're changing the margins of the printer. That's not a good idea. The only thing that you need to make sure of is that under scale it says 100%.
DeleteHi. Very late to the party, but I am having extreme difficulty at the eyelet mock-up stage. When I measure my center back line, it is a little more than 1" from the CB edge (for the 33" waist). However, in the directions above, you say to fold over the 2" extension flap to the inside. Huh? What 2" extension flap? Also, I can't tell from the pictures where you are inserting the bone, and where you are adding the buttonholes. Is the bone in the channel closest to the edge, and the eyelet/buttonholes next to those going away from the center back? I added 1/2" seams, but even that doesn't help me get to 2". Thanks!
ReplyDeleteHi there, I'm so glad you joined us! The 2" extension flap was mentioned on Sarah's blog in the post before this one (we did posts on both of our blogs.
DeleteHere's the link to that post: http://ohhhlulu.blogspot.no/2012/02/ooh-la-la-pin-up-sew-along-printing.html
I believe the buttonholes are being added to the 2" panel after it has been folded over and the bone should be inserted in the 2" panel as well, where you will stitch a channel over part of the fold to create a narrow channel in the fabric.
So I'm trying to drape my own girdle pattern...I have 28inch waist and 41inch hip so its easier to start from scratch than adjust a pattern. anyway I was wondering how low/high should a girdle sit? Yours looks quite short is that ideal?
ReplyDelete