

 |
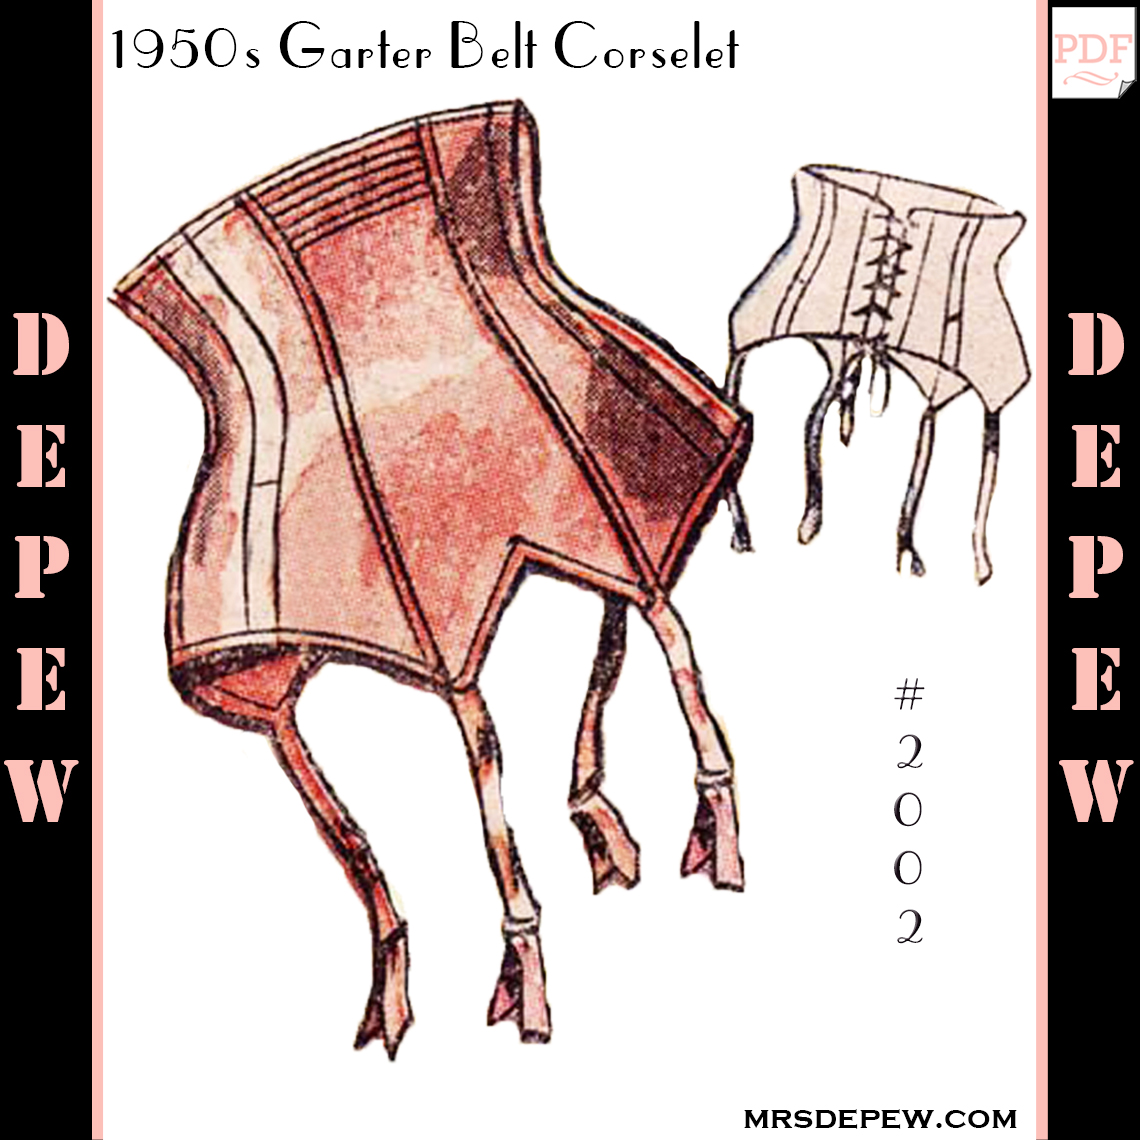
| The pattern we're using... |
In our last post we went over sewing a French seam to encase our corset boning.

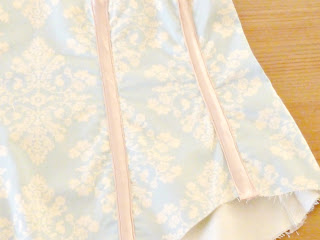
Today we have a close up view of how the boning will fit snugly inside the channel created by the French seam. The above looks pretty narrow to fit 1/4" boning in, and it is but it will fit if you've measured your seam allowances right while sewing.
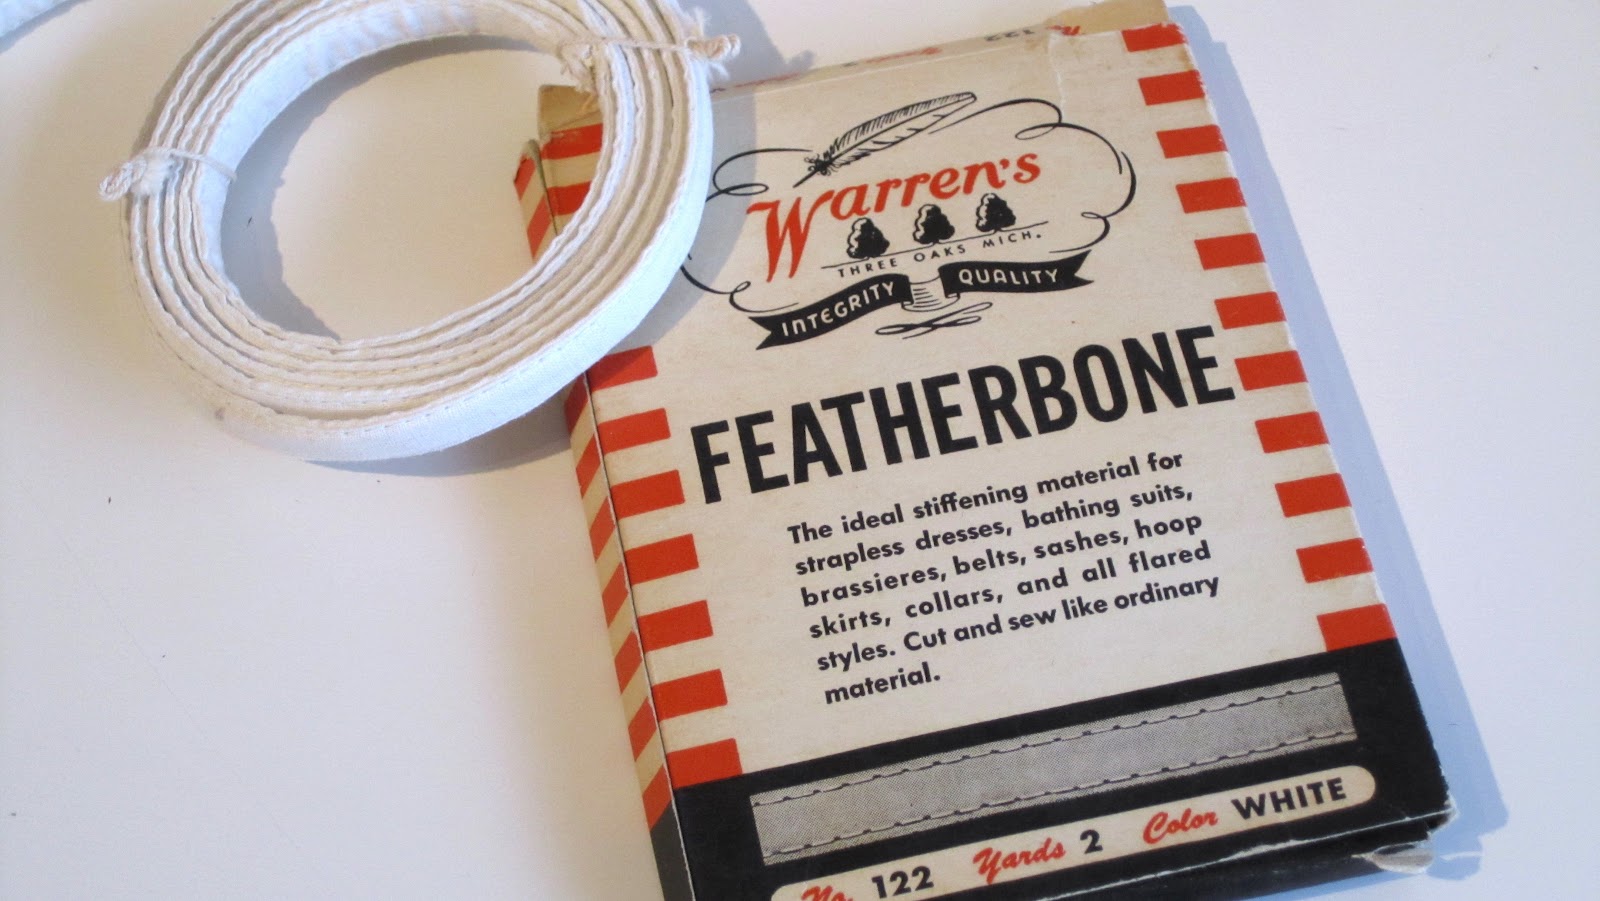
I'm using 1/4" wide, vintage 1940's Featherbone to stiffen my seams. If you want to refer back to the types of boning, Sarah gave us a really great overview in this post.
I have chosen to bone only the first side front channels marked for boning in the pattern. I'll be using the rest of my boning to stiffen my hook and eye closure at the back, which we'll talk more about in a later post.

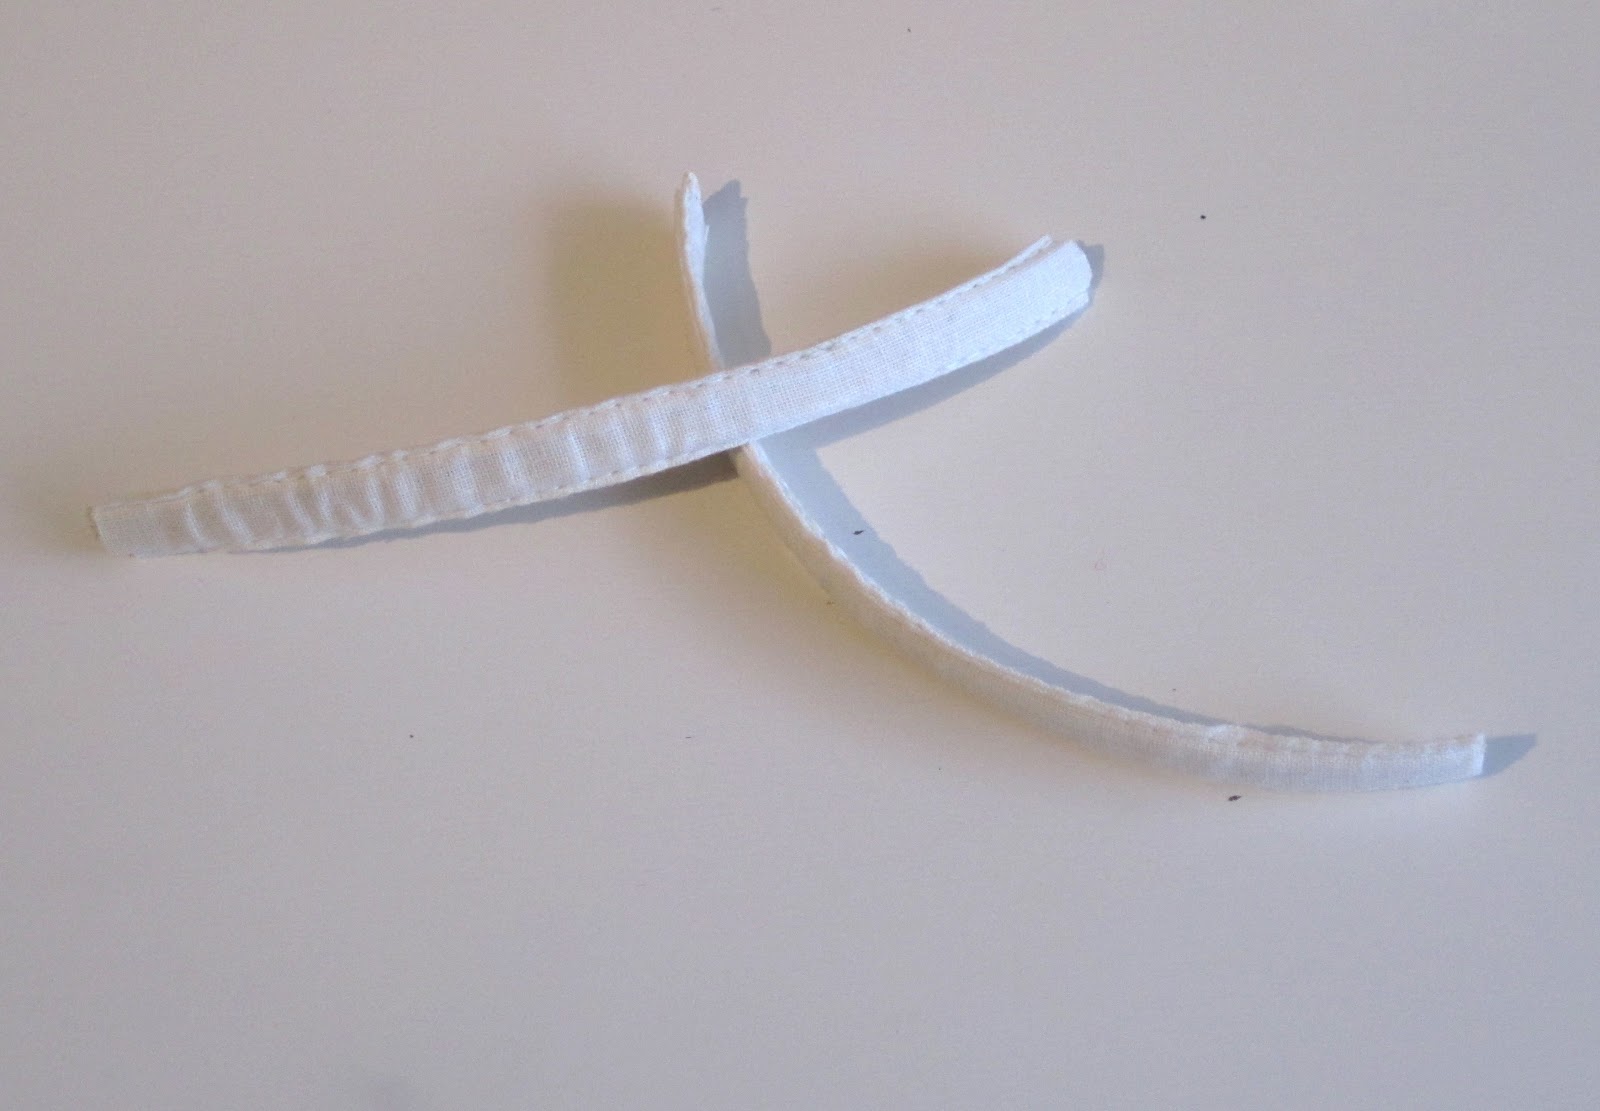
Make sure you round the edges of your boning at the top and bottom. This keeps rough corners from wearing through your fabric and eventually poking the daylights out of you. Edges too rough for scissors? Try filing it smooth with a nail file.
Below you can see the boning sticking out of the top of my French seam. It's a really tight fit, but that's to be expected. Just keep wiggling and you'll get it in there.

The whole length of the seam isn't boned, just the first half. This boning is in there pretty tight but just to be sure it doesn't work it's way down the seam some day, there are a few ways you can keep it in place.

My favorite way to do it is with embroidery flossing but I couldn't find any here in the colors I wanted.
 |
| Bridges on the Body has some amazing Corset making posts that I've learned so much from the last several months! |


And there you have it! Next you'll be ready to add your back closure and bind your top and bottom edges.
Sarah put together some beautiful pictures this weekend for us, showing how to add some lovely contrasting bone casings, prepare your back pieces for an eyelet closure, and stitching a nice clean seam for the bone channel.
I love the contrasting bone channels she chose to use, don't you?
Has anyone had any trouble finding garter clips or any other notions you needed?
This is looking fantastic - can't wait for mine to get to that point . . . speaking of how behind I am, I do have a question. When adding the seam allowances, we are only adding them to the side seams, since there actually aren't seams on the top and bottom (just some binding)? I hope that's the case.
ReplyDeleteAnd now that I've seen your post on adding boning, I suppose another question is in order. I've only been able to find the boning at Joann's that comes in the casing. I would appear to be too thick to poke through the seams as you have done here, so I would just remove the casing and call it good?
Hey Annabelle, both of these are great questions! You've got it right on only adding seam allowances to the sides of the pattern. The top and bottom will be bound so you don't need them... though one participant added them to the top and bottom of her muslin by accident and found she liked it better that way.
DeleteMy Featherbone came in a fabric casing too and I had to take it out to make it fit in my seams. If you want to leave the casing on, just make your seam allowance bigger by about 1/4" to accommodate the extra bulk of the casing... though case in point, it does add the extra bulk.
Oh great! Thanks for taking care of my questions Anna. This is such a fun sew along.
Delete